What Should You Check in a Custom Packaging Sample?
Check your packaging sample’s size, structure, colors, materials, finishes, and product fit to prevent costly errors before mass production.
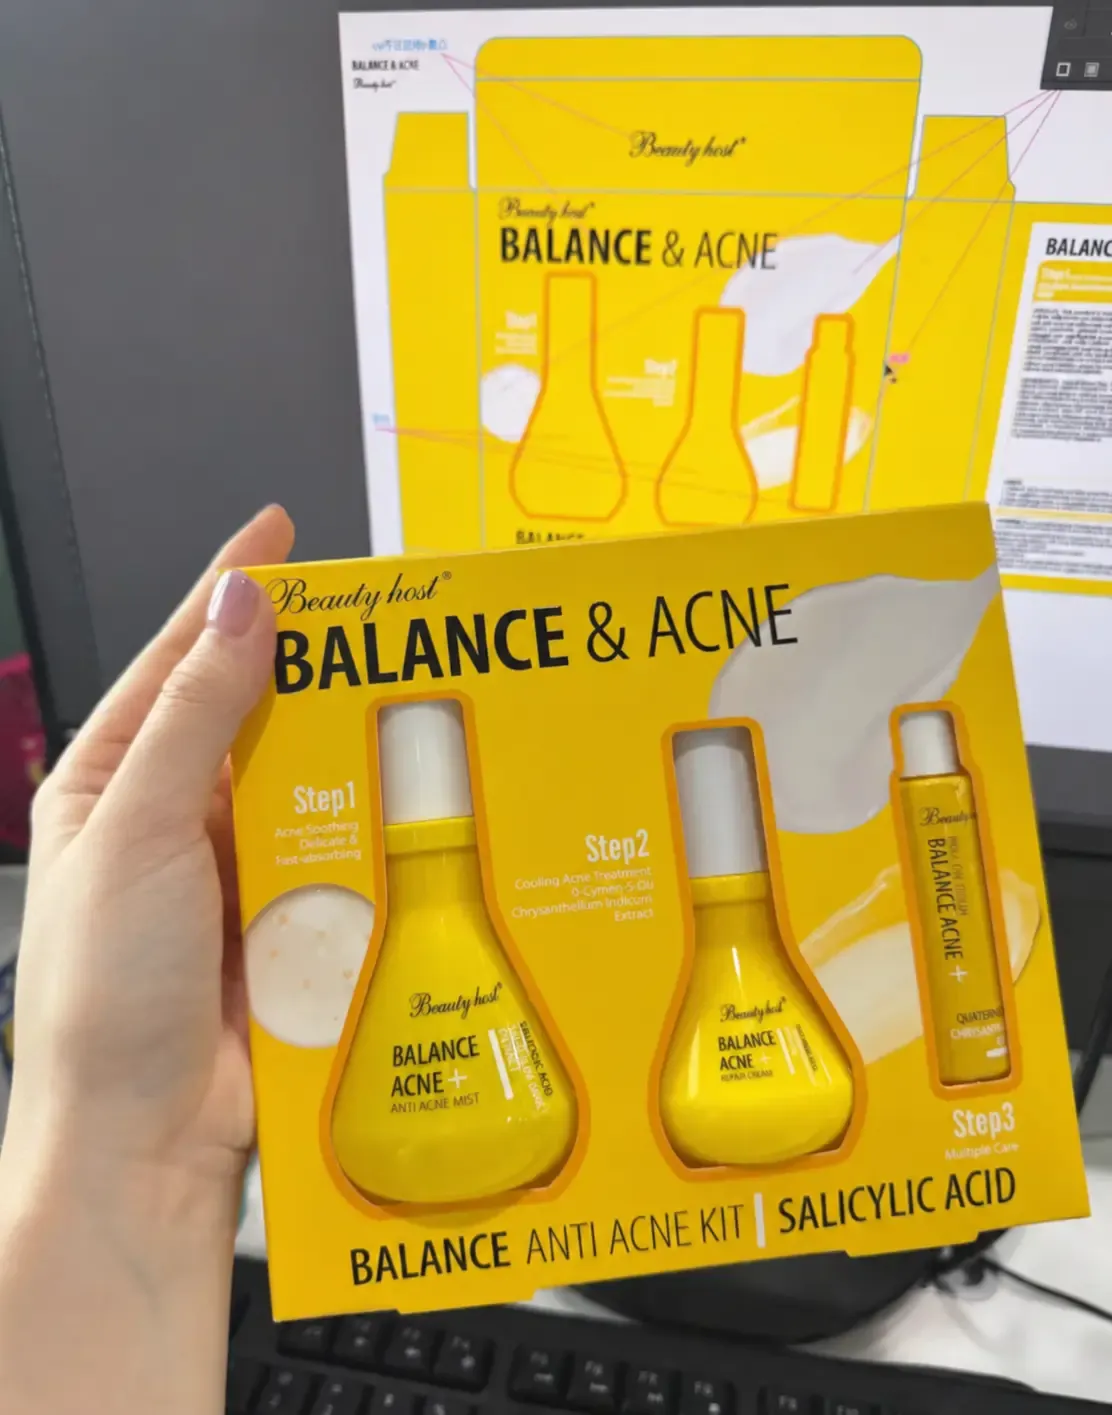
A custom packaging sample should be checked for more than appearance. Reviewing its dimensions, structure, colors, materials, finishes, and product fit can help prevent errors, rework, delays, and unexpected costs before mass production.
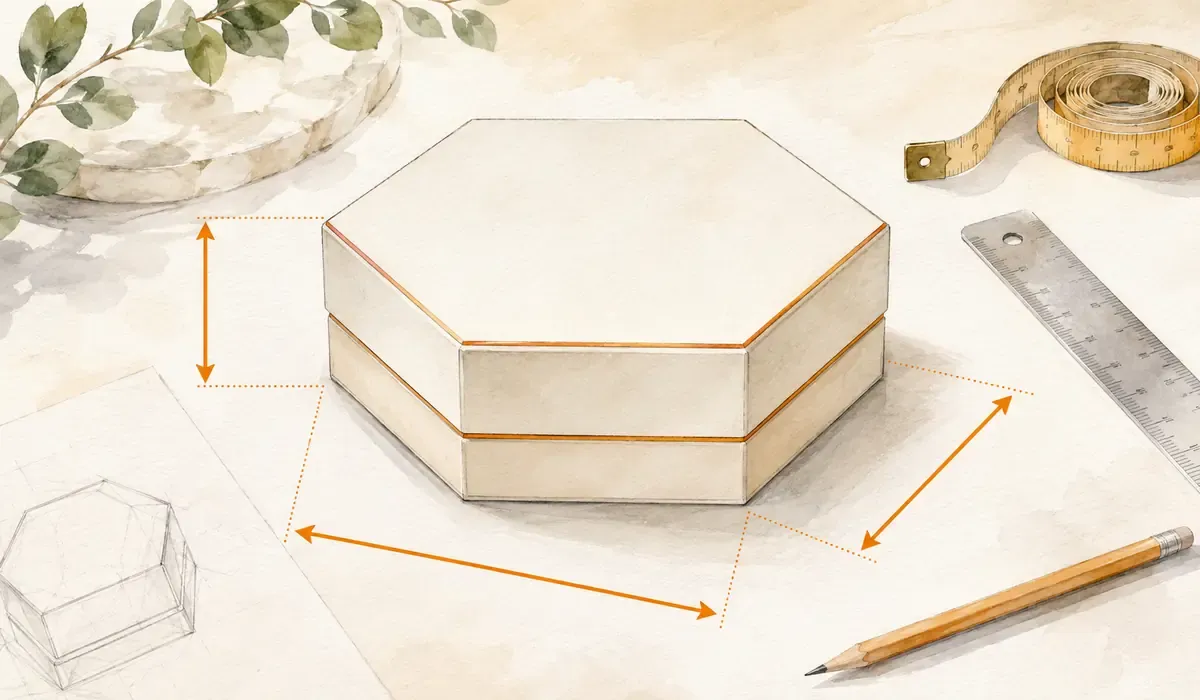
1. Check the Packaging Dimensions
Measure the length, width, and height of the sample and compare them with the approved specifications. Place the actual product and accessories inside to check whether:
- The product is easy to insert and remove
- The internal space is too tight or too loose
- The lid closes properly
- The product moves during handling
- Instructions, accessories, and gifts have enough space
A drawing only shows the theoretical dimensions. Testing the sample with the actual product provides a more reliable result.
2. Test the Packaging Structure
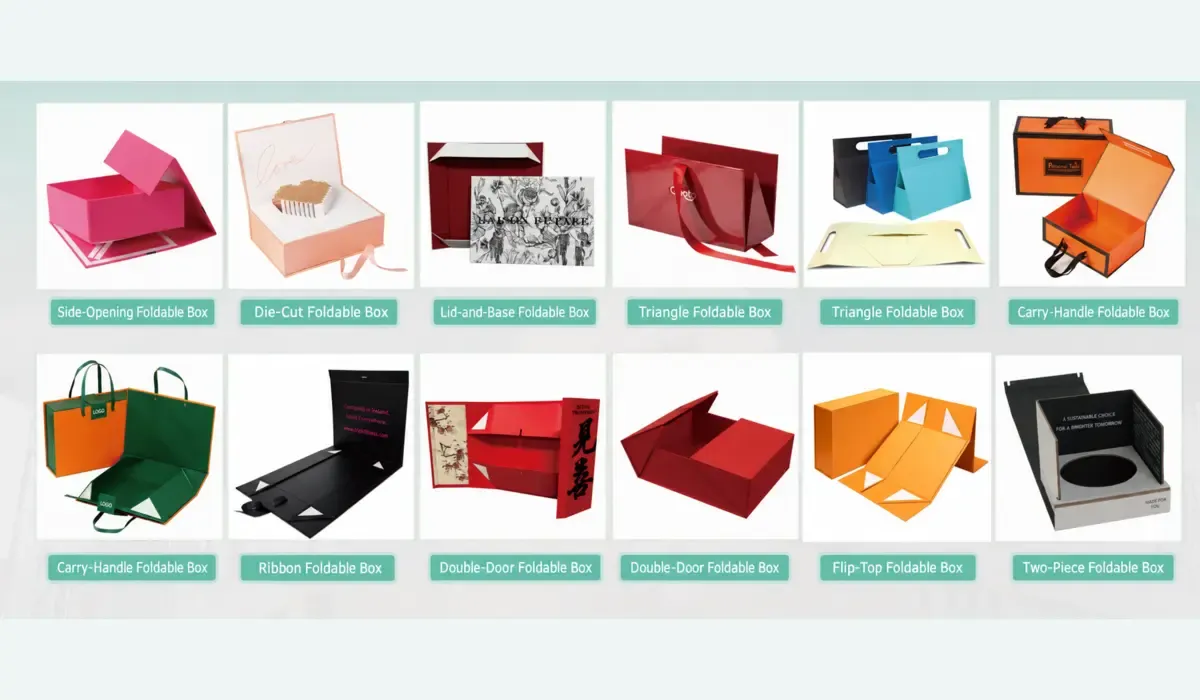
Open, close, fold, and assemble the sample several times to evaluate its stability. Different box styles require attention to different details:
- Magnetic boxes: Check magnet strength, lid alignment, and opening experience
- Collapsible magnetic boxes: Check folding areas, adhesive strips, and assembly
- Drawer boxes: Check sliding movement and sleeve fit
- Lid-and-base boxes: Check lid tightness and opening experience
- Mailer boxes: Check tabs, folding lines, and load capacity
- Window boxes: Check window position and film adhesion
3. Confirm the Material and Thickness
Check whether the paper, greyboard, cardstock, corrugated material, or specialty paper matches the approved quotation and specifications.
- Paper color and surface texture
- Paperboard or greyboard thickness
- Overall rigidity
- Corrugated flute type and strength
- Sustainable or certified material requirements
- Natural variations between material batches
If production requires a specific brand, paper weight, or certified material, record the material standard during sample approval.
4. Compare the Printing Colors
Colors may appear different on a screen, a digital proof, and the printed sample. Color should therefore not be approved only through a phone or computer display.
Review the sample under natural light or a standard lighting source and check:
- Brand-color accuracy
- Image clarity
- Details in dark areas
- Consistency across large solid-color areas
- Color matching between different packaging components
For color-sensitive projects, use a Pantone reference, signed color proof, or physical color sample as the production standard.
5. Review the Logo, Text, and Artwork
Check every printed detail carefully, including:
- Logo position, size, color, and orientation
- Product names and model numbers
- Spelling, numbers, and punctuation
- Barcode and QR code readability
- Company information and contact details
- Country of origin, warnings, and regulatory information
- Readability of small text and fine lines
6. Inspect the Surface Finishes
Foil stamping, spot UV, embossing, debossing, and lamination affect the appearance, texture, and durability of the packaging.
- Check whether foil stamping is correctly positioned
- Inspect foil edges for missing or uneven areas
- Confirm that spot UV is aligned and evenly applied
- Check the depth of embossing or debossing
- Look for bubbles, wrinkles, or peeling in the lamination
- Test whether matte surfaces scratch too easily
- Check whether specialty-paper textures affect fine artwork
For dark packaging or boxes likely to experience friction during transportation, anti-scratch matte lamination can provide better surface protection.
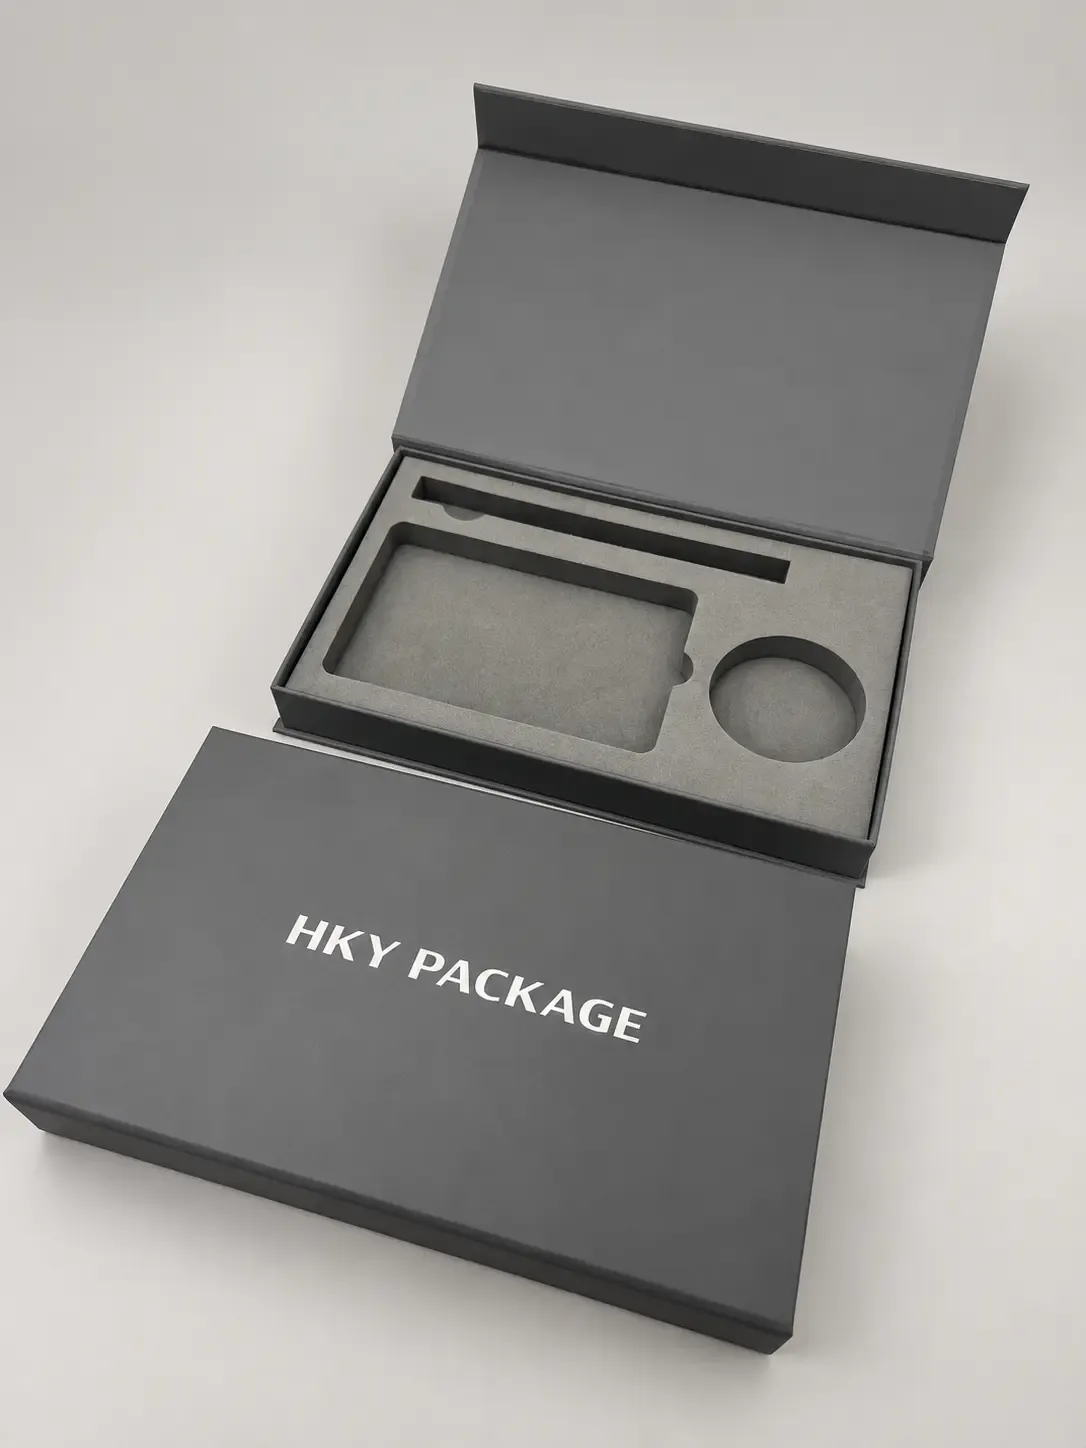
7. Test the Insert and Product Fit
The insert affects both product presentation and transportation protection. Place the actual product inside and check:
- Cutout dimensions
- Ease of inserting and removing the product
- Product stability
- Risk of surface scratches
- Protection around caps, pumps, or fragile parts
- Product orientation
- Contact between multiple products
For EVA, foam, paperboard, plastic, or molded-pulp inserts, also confirm the color, thickness, odor, and surface finish.
8. Check Adhesive, Magnets, and Joints
Inspect the corners, wrapped edges, folding areas, and connecting points. Repeated opening and a gentle pull test can help identify:
- Loose glued areas or excess adhesive
- Raised corners
- Bubbles beneath the wrapping paper
- Loose magnets
- Weak adhesive strips
- Poorly secured ribbons or handles
Small variations may occur in handcrafted packaging, but they should not affect normal use or the overall appearance.
9. Simulate Actual Use and Transportation
Do not evaluate the sample only by looking at it on a table. Test it under realistic conditions:
- Pack all products and accessories
- Open and close the box repeatedly
- Simulate retail display and unboxing
- Place the packaging inside its shipping carton
- Conduct a simple vibration or drop test
- Check stacking strength and deformation
For international shipping, consider how temperature, humidity, friction, stacking, and long-distance handling may affect the packaging.
10. Record the Final Approval Standard
After reviewing the sample, clearly record what has been approved and what still needs to be changed.
- Final packaging dimensions
- Material names, thicknesses, and paper weights
- Printing color references
- Surface finishes and positions
- Insert structure and product orientation
- Final revised artwork
- Dated sample photographs
- Agreed mass-production requirements
A detailed approval record allows the sample to become a practical quality-control standard for mass production.
How Can HKY PACKAGE Support Sample Approval?
HKY PACKAGE provides one-stop custom packaging support, including structural design, dieline preparation, material recommendations, and artwork checking.
During sampling and mass production, we can provide photo and video updates and adjust the packaging solution according to the product, budget, and shipping method. The more carefully each detail is confirmed before production, the lower the risk of rework, delays, and unexpected costs.
A qualified packaging sample does more than show how the finished box may look. It verifies the structure, quality, protection, and customer experience before mass production begins.